Hola gente de Peak D! hoy vamos a ver una de las herramientas indispensables en el dibujo dijital, hablo de las capas, hoy enseñare como son en ClipStudioPaint.
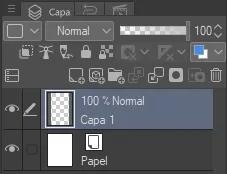
Cada vez que creamos un archivo tendremos nuestro lienzo personalizado y una capa (capa1)

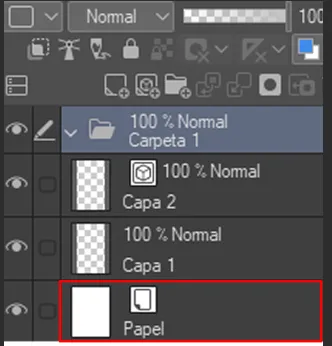
Podemos añadir capas con el botón indicado.
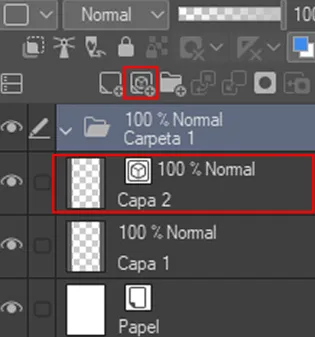
Podemos añadir capas de vectores, las cuales podemos cambiar los siguientes parámetros:
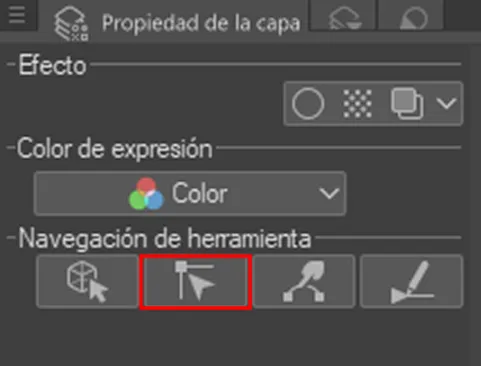
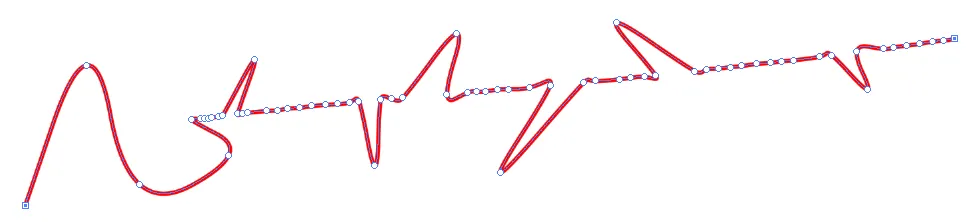
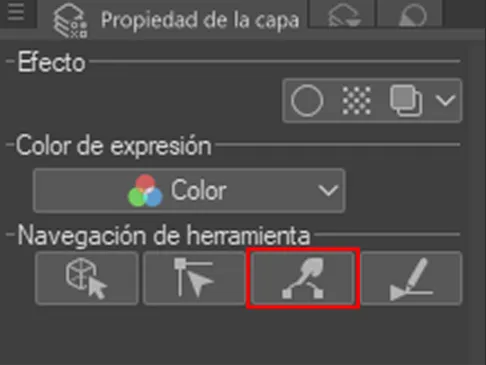
Podemos modificar cada punto del vector con esta opción.
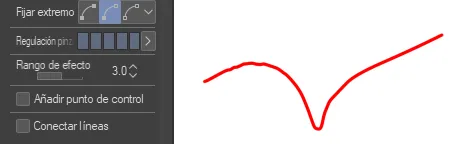
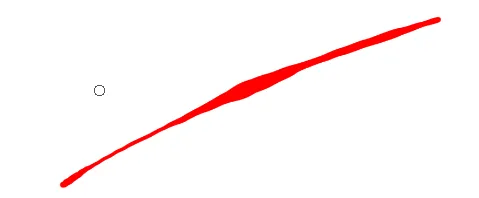
La linea de pinza nos proporciona algo similar, pero mas intuitivo.
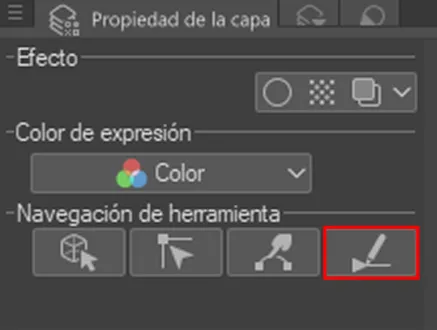
Por ultimo este apartado nos proporciona la capacidad de cambiar el grosor de la línea de manera manual.
Esto es todo por hoy, hasta el siguiente post!
Un saludo! 😄
ENGLISH:
Hello people of Peak D! today we are going to see one of the indispensable tools in the digital drawing, I speak about the layers, today I will show how they are in ClipStudioPaint.
Every time we create a file we will have our custom canvas and a layer (layer1)
We can add layers with the indicated button.
We can add vector layers, which we can change the following parameters:
We can modify each point of the vector with this option.
The clamp line gives us something similar, but more intuitive.
Finally this section gives us the ability to change the thickness of the line manually.
That's all for today, until the next post!
Greetings! 😄
Translated with www.DeepL.com/Translator (free version)